How to make a Minecraft skin
Use one short loop: start with a complete layout, edit the pixels, rotate the result, then export the PNG you are ready to import.
1. Start with a real layout
Open the Skin Editor and choose Classic or Slim before you paint. Both use 64×64 pixels; the arms are 4 pixels wide in Classic and 3 pixels wide in Slim.
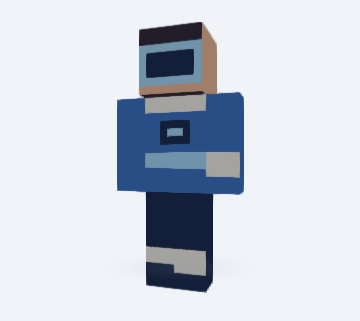
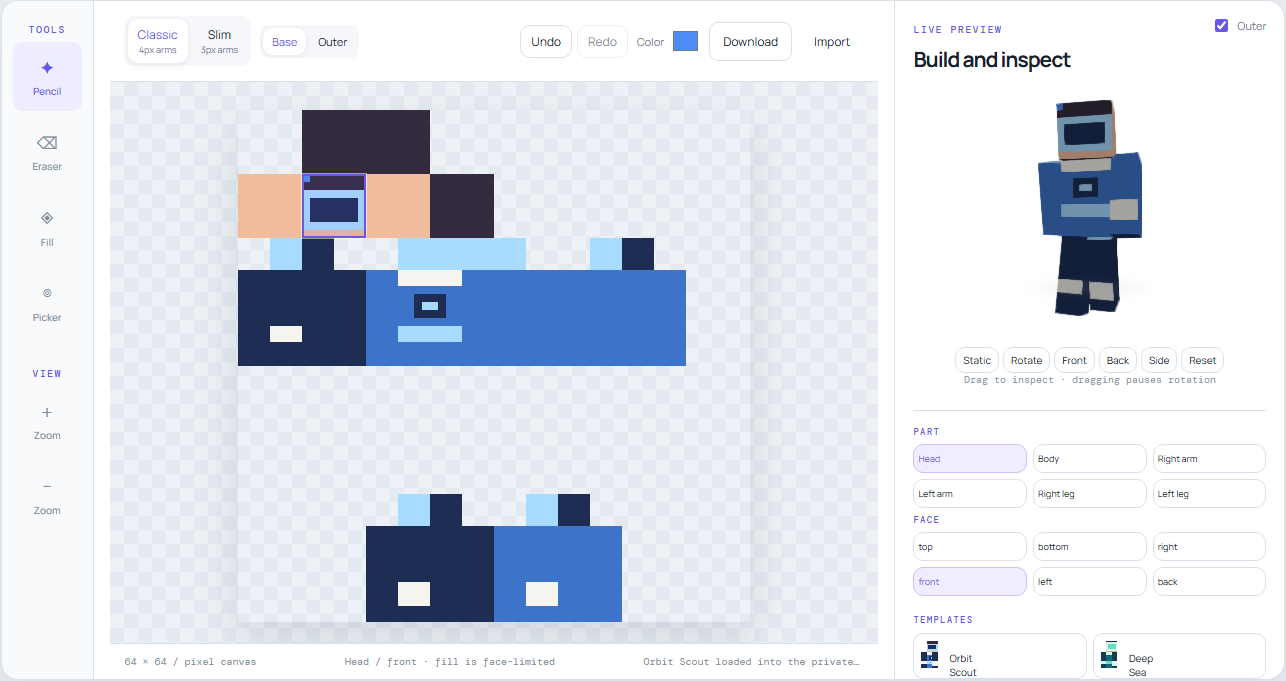
2. Edit the pixels
Use pencil for details, eraser for transparency, picker to reuse a color, and fill for a face-limited area. Keep the base and outer layers distinct when adding hair, hats, hoods, or sleeve details. Undo and redo after each meaningful stroke.
3. Rotate and inspect
Open the 3D Viewer or use the live preview. Check front, side, back, arm width, transparent outer pixels, and seams where one face meets another. A flat PNG is an unwrapped texture, so the 3D view catches mistakes the canvas can hide.
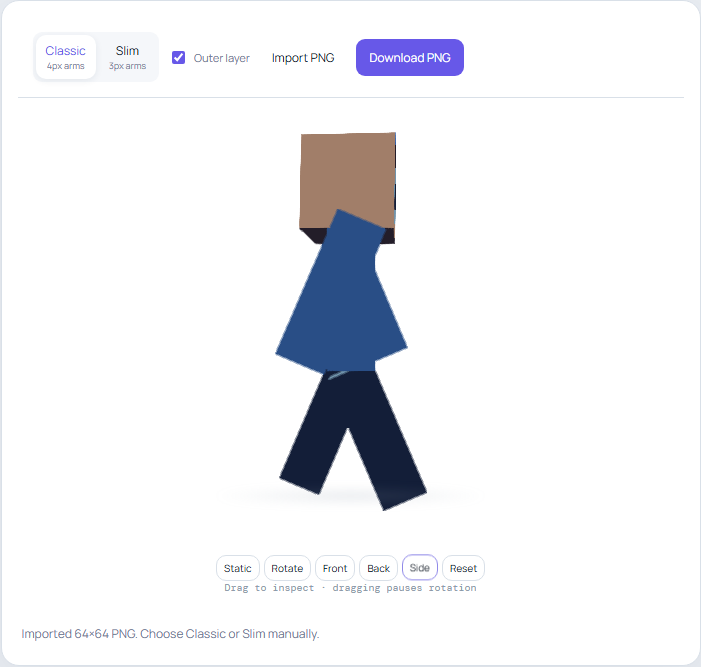
4. Download and import
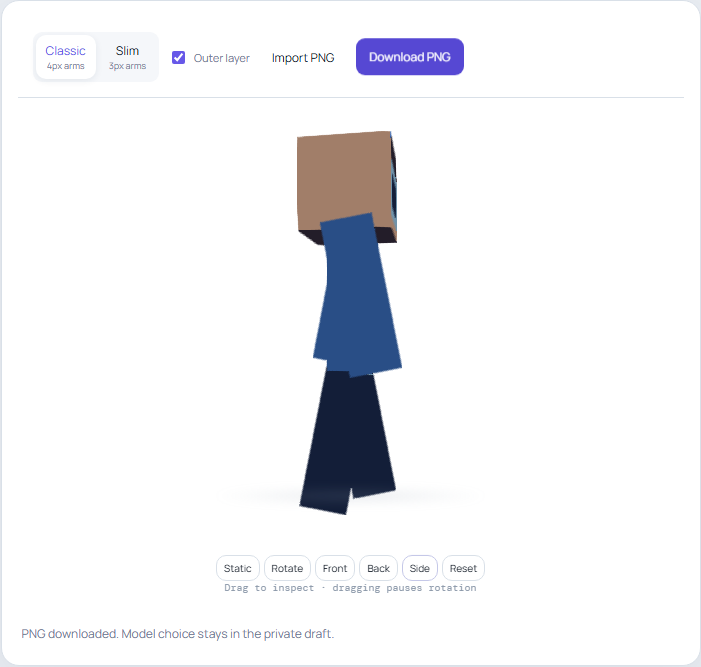
Download the 64×64 PNG, then follow the import guide for the edition and device you use. Keep the same Classic/Slim choice when importing.
Related tools
FAQ
Do I need a photo?
No. Start from a local template or describe an idea. A photo is optional and does not guarantee pixel-perfect reconstruction.
Can I change the model later?
You can switch the model, but review both arms again because Classic and Slim interpret arm regions differently.
Is this an official Minecraft tool?
No. MyPixelSkin is an independent tool and is not affiliated with Mojang or Microsoft.